I've been playing around with
Apache Tuscany quite a bit recently - it's an open source runtime based on the Service Component Architecture and to be pretty frank it's really cool :)
One of the things I needed to do was deploy a Tuscany based webapp to Weblogic - so I thought I'd throw together some brief instructions here....
The samples as provided by Tuscany don't work straight off on Weblogic - this is due to the way that Weblogic handles the content of WEB-INF/classes within a webapp - it's all packaged up into a jar and moved to the equivilant of WEB-INF/lib/your-classes.jar so that the Tuscany ClassLoader then can't access it.
Using samples/calculator-webapp as an example of how to get this to work, you just to make these changes.....
Firstly, you need to move the file:
src/main/resources/Calculator.compositeto
src/main/webapp/META-INF/Calculator.compositeThis has the result of moving the .composite file back to a location accessible to the Tuscany ClassLoader used to parse the composite files.
You'll also need to create a src/main/webapp/WEB-INF/weblogic.xml with the following content:
  <?xml version='1.0' encoding='UTF-8'?>
  <weblogic-web-app xmlns="http://www.bea.com/ns/weblogic/90" xmlns:xsi="http://www.w3.org/2001/XMLSchema-instance">
    <container-descriptor>
      <prefer-web-inf-classes>true</prefer-web-inf-classes>
    </container-descriptor>
  </weblogic-web-app>
This will enforce the contents of WEB-INF/lib (ie the Tuscany runtime) is higher in the ClassLoader than the weblogic entries - to make sure we use the Tuscany friendly implementations of things like XML parsers.
Once that's done, package up the example as normal (see the example's README if your unsure) to produce the webapp war.
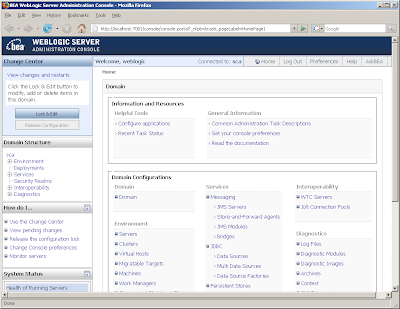
Next, for weblogic - you'll need a suitable version of Weblogic installed that supports Java 5 - I'm using Weblogic 9.2MP2. Once you've got it installed and a suitable domain created you should go on over to the weblogic console - http://localhost:7001/ is the default, it'll be different if your using non-localhost or non-standard ports:
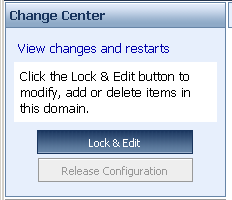
In order to allow you to make changes to your domain, you'll need to hit the Lock & Edit Button:
If you select the Deployment option under "Domain Structure" you'll then be presented with a screen which allows you to Install new applications:
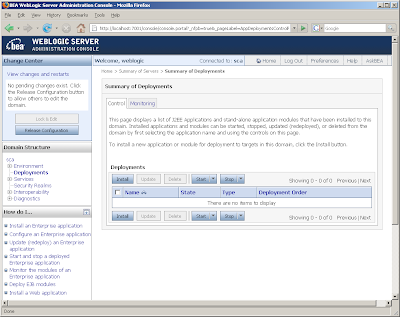
Hit the Install button to be presented with the install assistant - here you can either navigate on your local disk to the application:
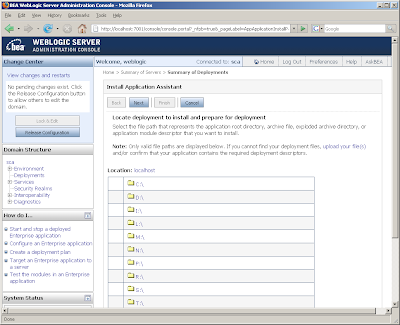
or select the upload your file(s) option - which I find much easier to use:
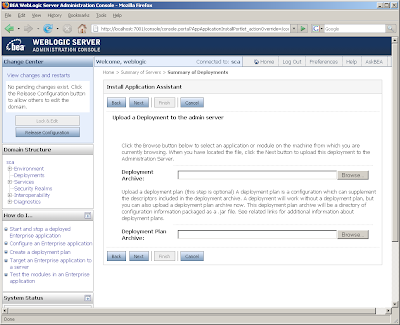
Hit the Browse Button for the "Deployment Archive:" option, navigate to your webapp and once your happy click next, you'll be presented with a screen which confirms the upload has completed successfully and that your webapp is available to deploy:
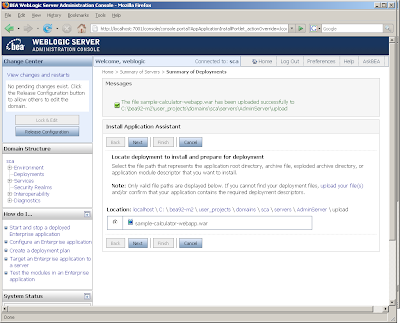
Ensure the radio button is selected next to your webapp and hit Next, you'll be presented with the following screen:
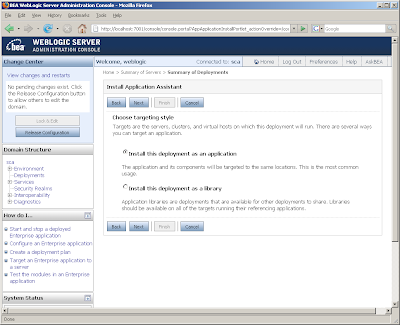
Leave this screen as is and Next again :)
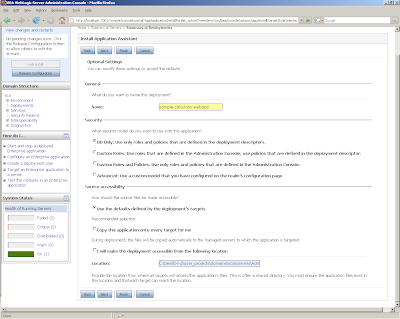
You can leave this screen as it is and just hit Finish, this will take a moment or two, before you'll be presented with the following screen:
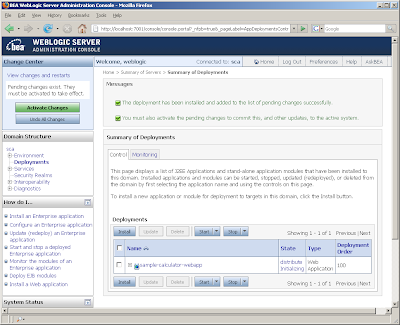
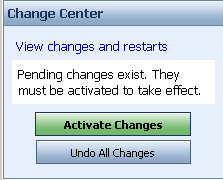
We're now able to Activate our changes and deploy the webapp, so go ahead and hit the Activate Changes button:
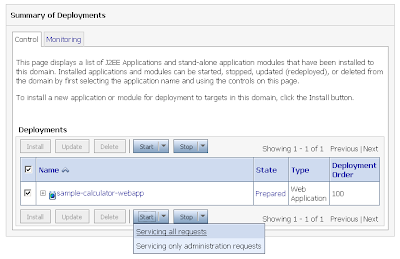
The page will refresh, our webapp will be deployed, but we're not quite there yet! You need to now start the webapp, so from the Deployments list you should select this webapp and then Start > Servicing all requests, as follows:
Next you'll be asked to confirm that your happy to start this webapp:
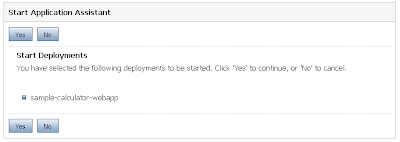
Hit Yes, wait a mo or two and you'll be presented with a Message to confirm that your webapp has started and is available for service:

We can now take ourselves over to http://localhost:7001/sample-calculator-webapp (again this is the default, update accordingly) where this webapp is being hosted:
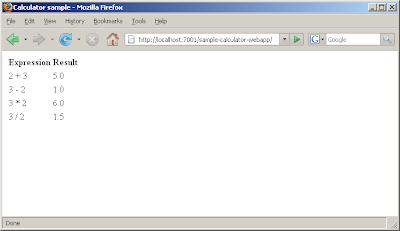
All done! You've got your SCA application running with Tuscany on Weblogic 9.2 :)
These tests are with the 1.1-incubating release and mostly I've used a Sun JDK (1.5.0_10), though a few initial trials with JRockit and all seemed to work as expected.
Hopefully that should help a few people out!


